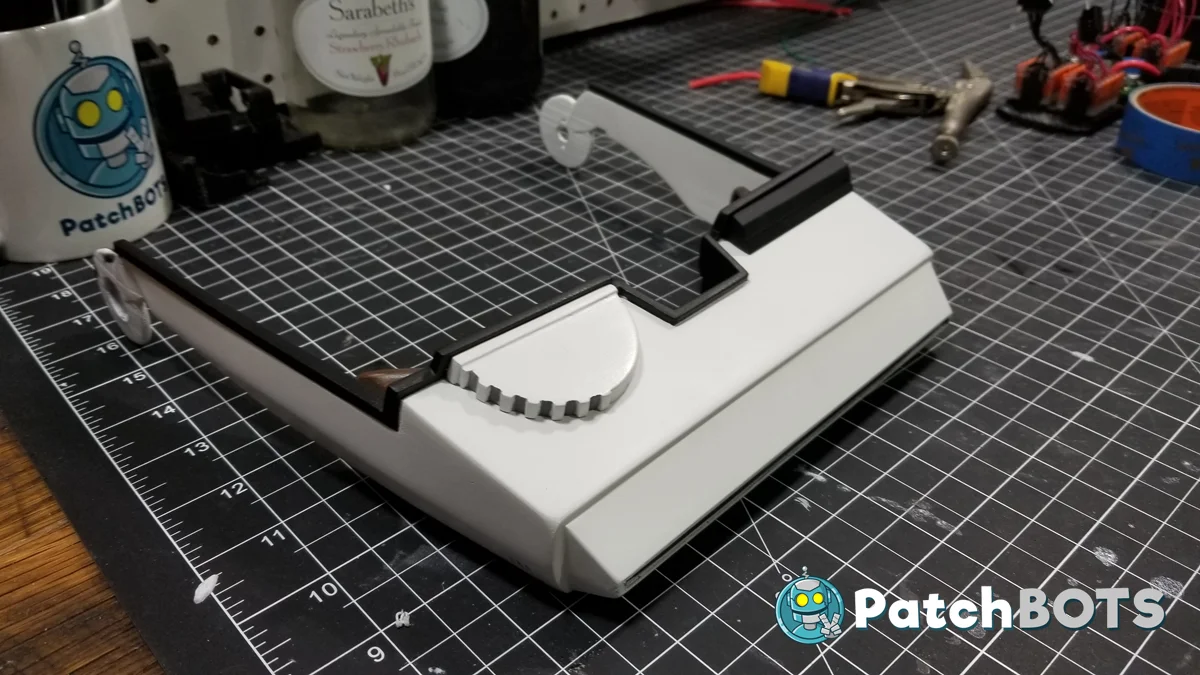
If you're reading this then you've probably purchased a kit from me for my Phase 2 Clone Macrobinoculars. There is a video here to help as well as some text based help. Be sure to read through it all! Comments are ENABLED for this post, so please post any and all questions here. If you're unsure of something, chances are someone else is too. We can make a user-generated FAQ.
RECOMMENDED TOOLS/SUPPLIES
(click links in captions for an Amazon Purchase)
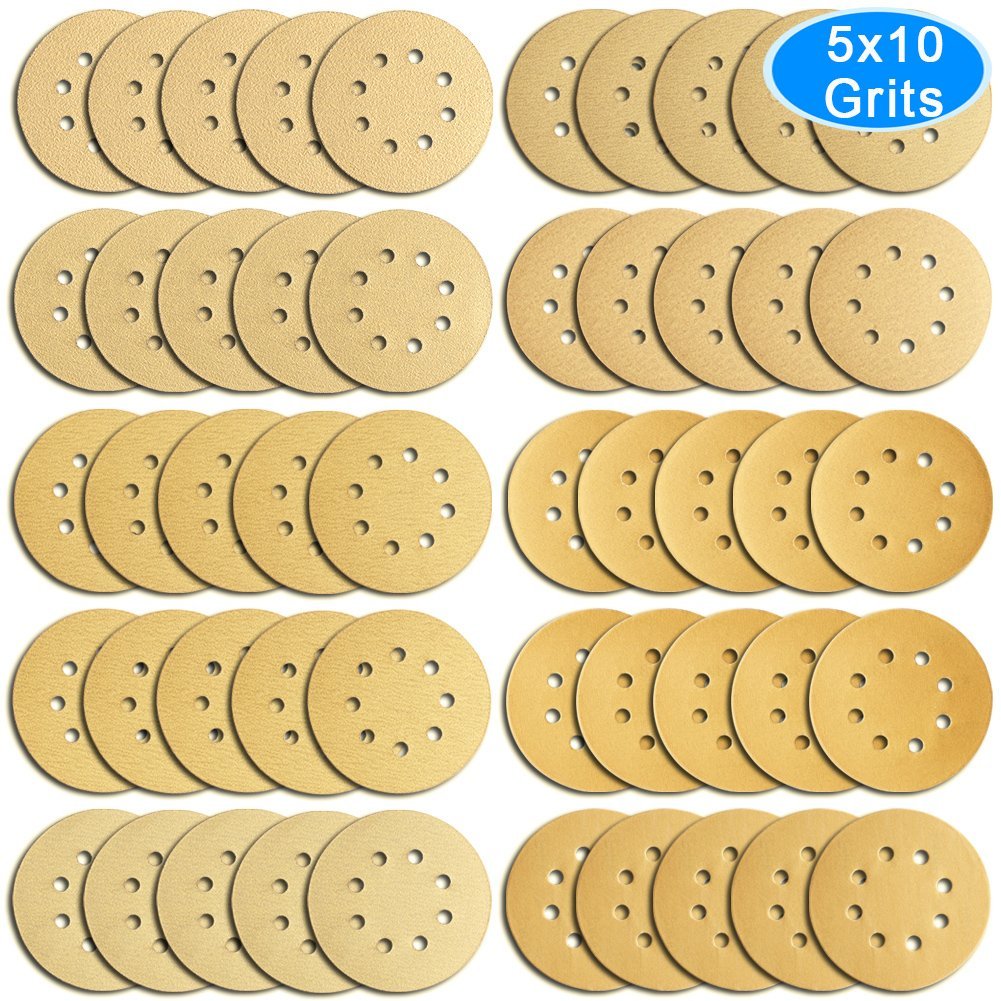
You're going to want an assortment of sandpaper. I actually like using the power sanding discs even for hand sanding. They work really well and give the option to toss them on the power sander. The grits I used for this project are 60,120,220,320,400. Anything more is a bit excessive I think. LINK: http://amzn.to/2xINVnW

This is the sister friend of sandpaper. You'll need this or some kind of filler to get rid of the print lines and make it super smooth. LINK: EDIT: there appears to be some sort of shortage on amazon at the moment with some accompanying price gouging. DON'T PAY MORE THAN A DOLLAR AN OUNCE FOR THIS STUFF.
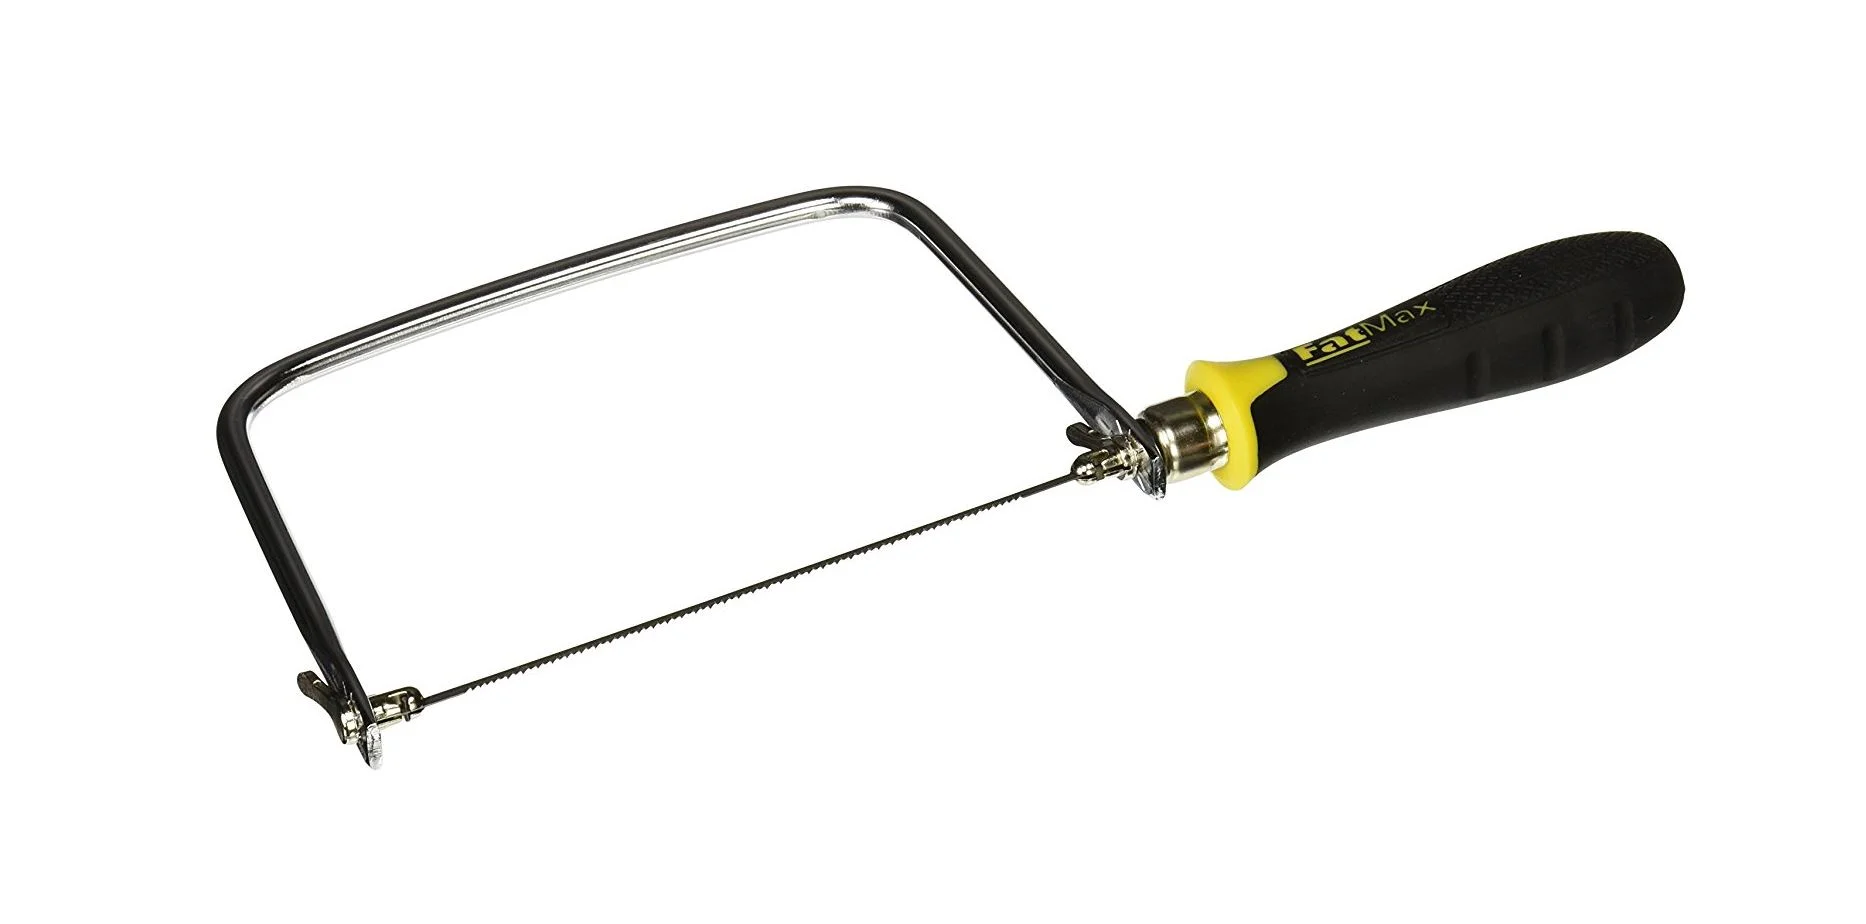
This a good inexpensive coping saw you can get on amazon. Or just go to your local lowe's/home depot and get one. If you're at the store ask the guy what is the thinnest blade you can put on it and get that too. You'll want the most precise cut you can get. LINK: http://amzn.to/2zt4Gph

This is some industrial stuff, be careful with this stuff if you like your fingerprints.
LINK: http://amzn.to/2yoQkpx

These little snippers are really a must for any shop. I use them for EVERYTHING and I literally have 8 pairs scattered about my office. Not necessary but definitely helpful for removing plastic and cutting wires and opening annyoing packaging etc. LINK: http://amzn.to/2zd0fh8
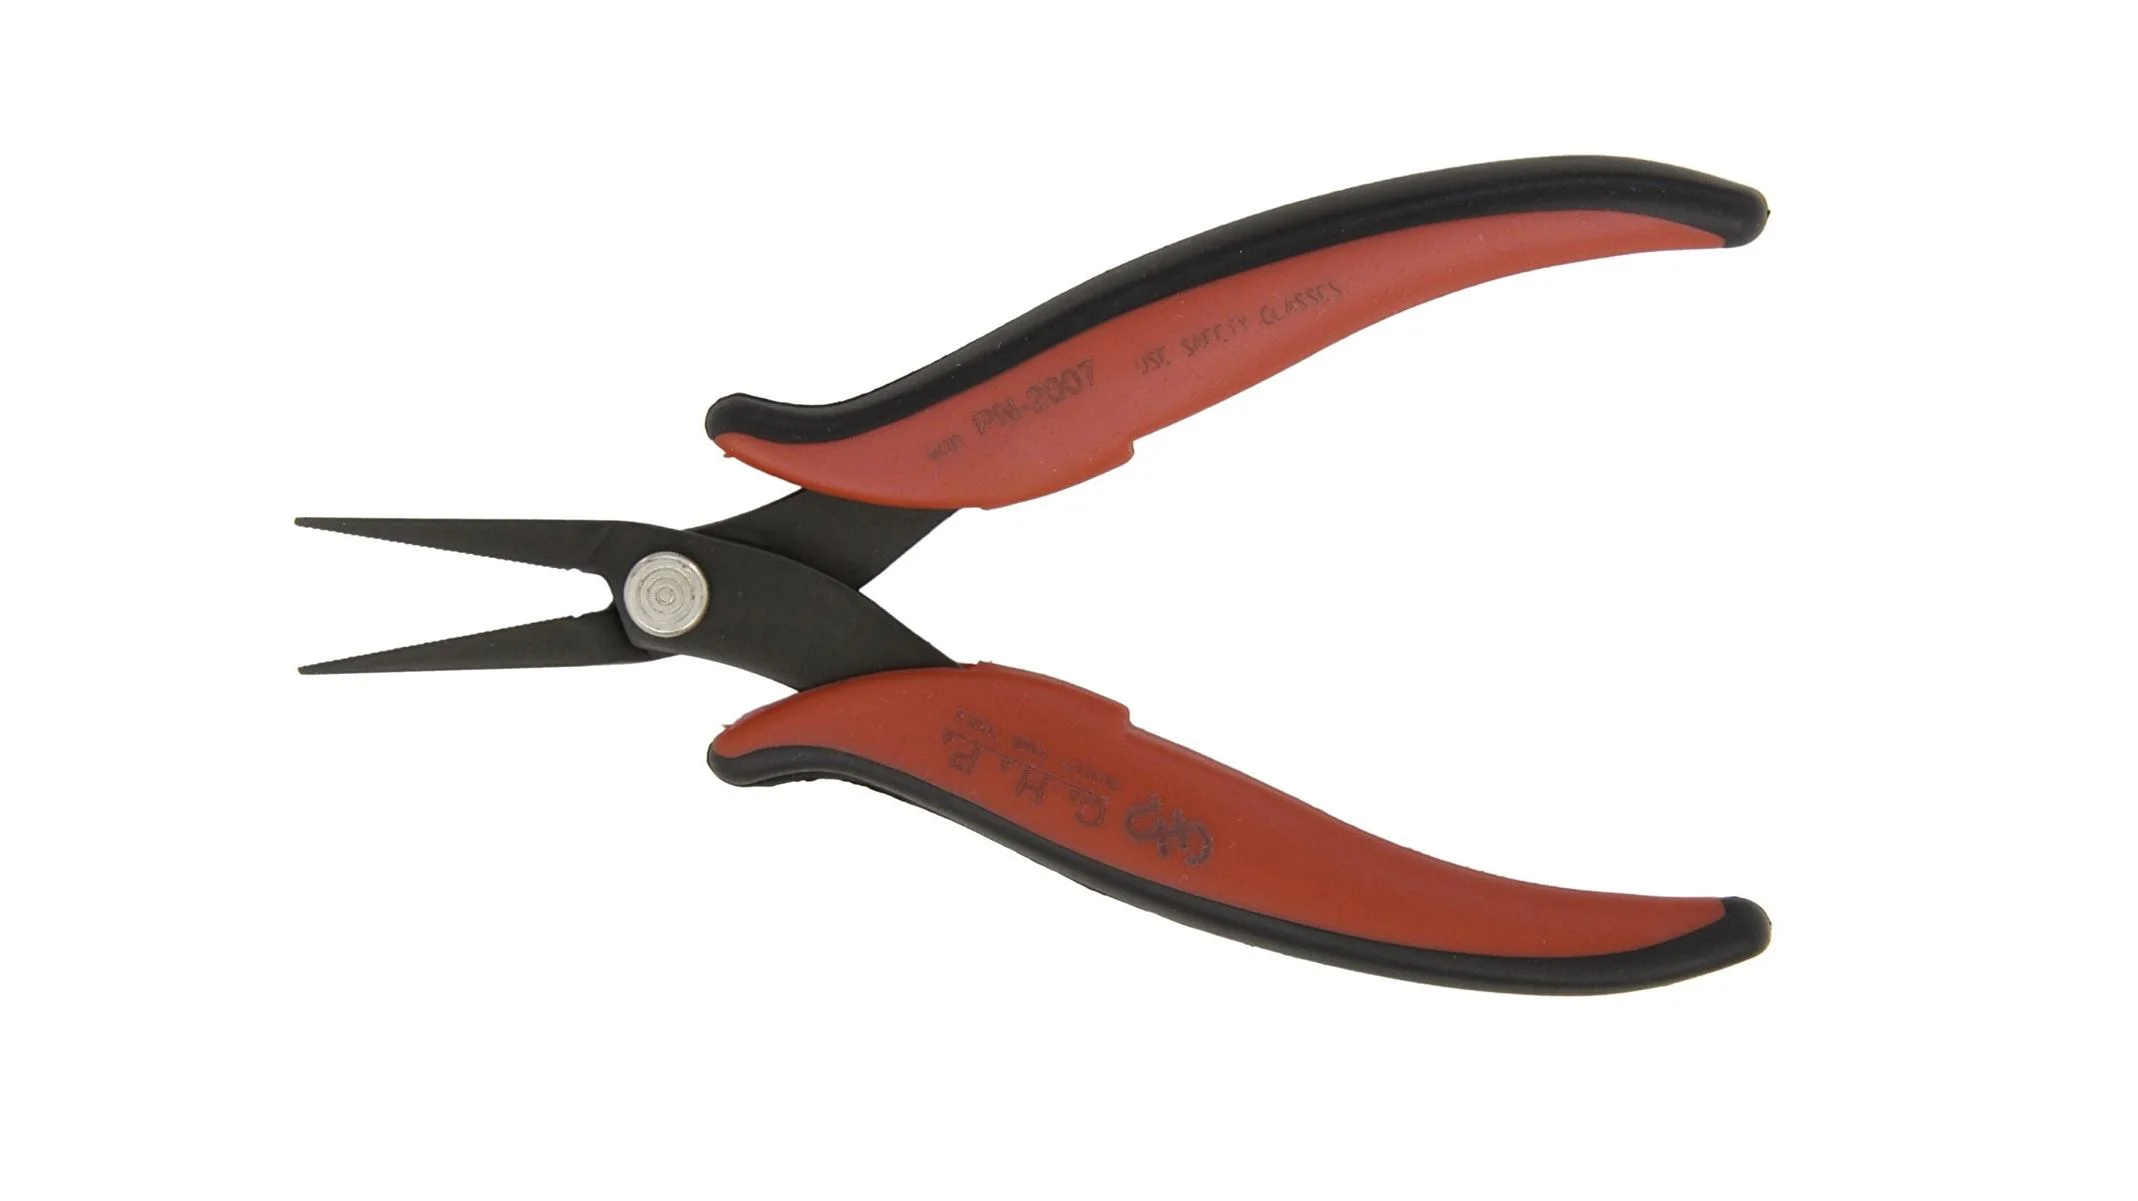
These little pliers are super handy too. Great for pulling support material off 3D prints, crimping wire pins, and anything else. LINK: http://amzn.to/2zcQfEL
Here is a video that will get you through the installation of the hardware and touch briefly on the finishing process. More details on that coming up.

Additional Information on the Installation (This will be continuously updated as more questions arise from builders)
VIDEO AMMENDMENT #1: The hardware changed a bit from the start of this video to the end. Please refer to the papers included in the kit for the final hardware checklist.

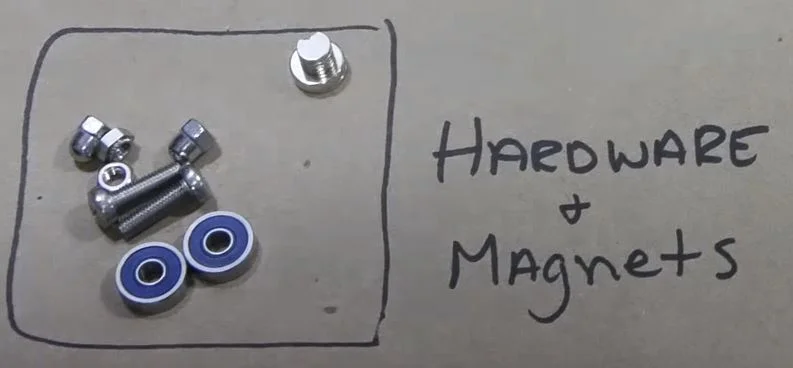
VIDEO AMMENDMENT #2: In the video I make reference to the nut having little grippers at the bottom. If you were one of the first 5 kits sent of you may have these, but they are entirely unnecessary (in fact I think the nut itself is entirely unnecessary). I started including a regular m5 nut which will fit into the recess and give the same support.
Expanded Information on the Binoc Magnet Install
So one of your magnets will install in the bridge of the binocs here. I purposely included a round cap #10 screw with this. The recess for the magnet is also intentionally very deep (twice as deep as the magnet) This is so you can manually dial in the stregth of the magnet. If you make the magnet flush with the surface of the glasses, it will very likely be too strong and you'll have a hard time pulling them off and it may even bend your plastic towards the center. The closest you should get is where the round cap of the #10 screw is flush with the bridge. This is where my final install ended up. If you find this isnt' strong enough, you can switch to a flat head screw and make it flush (any number 10 screw will work). If you find this is too strong you can keep screwing in the screw until the magnet is flush with the back of the recess. Magnet decay is expontetial, so even a millimeter of distance will have a huge affect on the retraction. Take your time to dial this in as you like.

The video talks about the arms and the body but not the rest of the pieces. You want to start the finishing process on them separately and get them fully smooth and ready to install on their own. When you choose to install everything is up to you but here is what I did for each part:
THE BRIM
The brim was installed on my kit almost immediately. It just glues on top right where you'd think it would. You want the INSIDE OF THE ARMS OF THE BRIM TO BE FLUSH WITH THE INSIDE OF THE MAIN ARMS. This will lead to a little overhang on the outside of the arms which is exactly what you want. I installed this early so I can fill any gaps that resulted in the process before I painted.
THE FRONTS PIECE
This should be installed early on for the same reason as the brim. You want to fill the gaps between the fronts piece and the main body BEFORE you paint. Or if you like the look of separation that's fine too.
THE EYES
The eyes are a nice tight fit and literally never need to be glued in (mine aren't). So just finish them and paint them and push them in when ready to install.
The Greeblies
The Greeblies can be installed last. My wheel greeblie still isn't installed because I think it will be easier to paint it separately with the blue 501st colors. I will glue it on absoltuely last.
PAINTING
Since a lot of the body will be glued together, you will have to use some masking techniques to paint everything. Follow the guide below for the colors (NOTE: I'm ONLY SHOWING MY BUILD WHICH IS FOR COMMANDER BOW, OTHER COMMANDERS MAY VARY).


The eyes are to be painted to look like Brown Leather. For that I used an assortment of Brown Paints and just kinda winged it with a brush and a paper towel. I video the whole thing which I'll post if people want, but it's not the most informative video. My recommendation would be google searching how to paint something to look like leather and follow a more skilled artist. Then just paint the top of the squares black so they aren't visibile on the final backing.